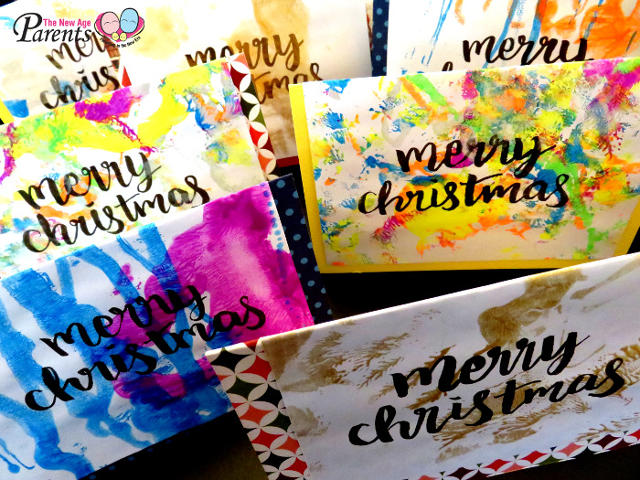
There’s nothing quite as beautiful as a handmade Christmas card with handwritten greetings, and what’s even better is when everyone has fun making the cards together! Here’s a fun DIY to make your family’s Christmas cards this year, with just a few simple supplies, lots of newspaper, and eager little hands to help! Choose from Method A or Method B when it comes to the directions below.
Materials:
- Newspaper or cardboard – to line the table/floor and to use as a base for the paint
- Puffy paint – 8x glitter paint, from IKEA
- Few sheets of kitchen towel
- Plain paper – white or coloured is fine
- Patterned scrapbooking paper – ensure that at least one side is a light colour. This will be the inside of the card.
- Brushable pens – 4 pens per set, $14.55 from UrbanWrite
- Pencil and ruler
- Scissors
- Glue or double sided tape
Method A
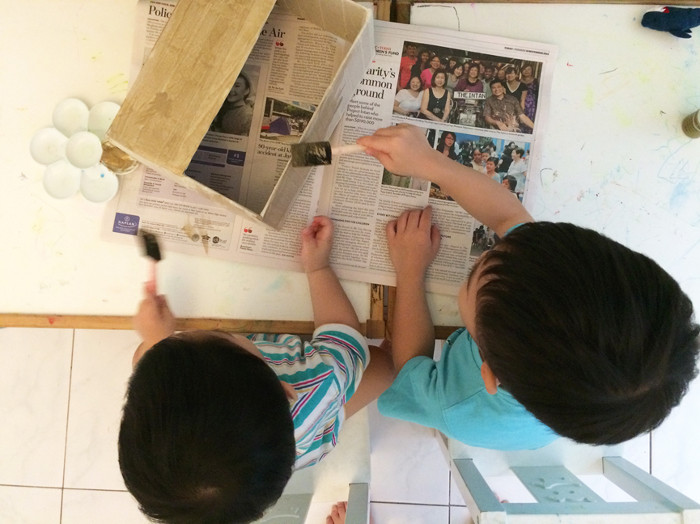
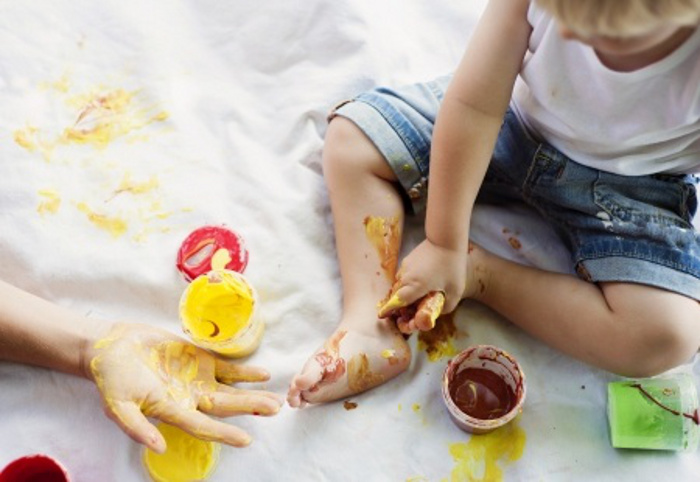
1. Line the work surface with newspaper/cardboard. Ask kids to make shapes, lines and squiggles with the puffy paint all over, giving some direction to ensure they don’t use too much paint on any one spot (as the paint would soak through the newspaper/cardboard).
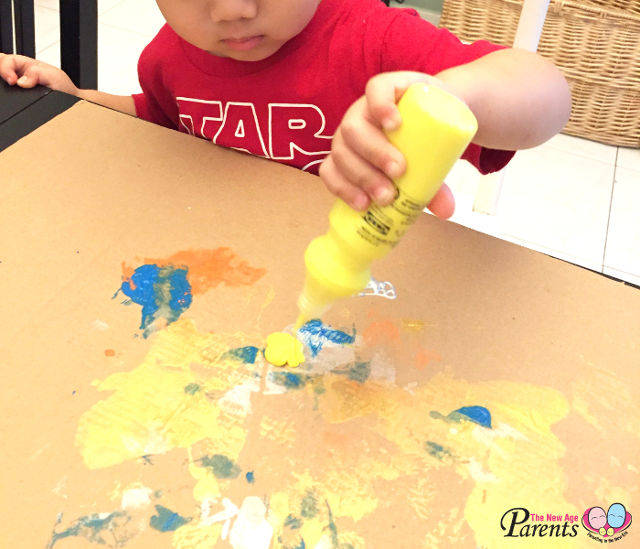
2. Use scrunched up balls of kitchen towel to dab lightly on all the painted parts, to clean up excess paint and spread the colours out further.
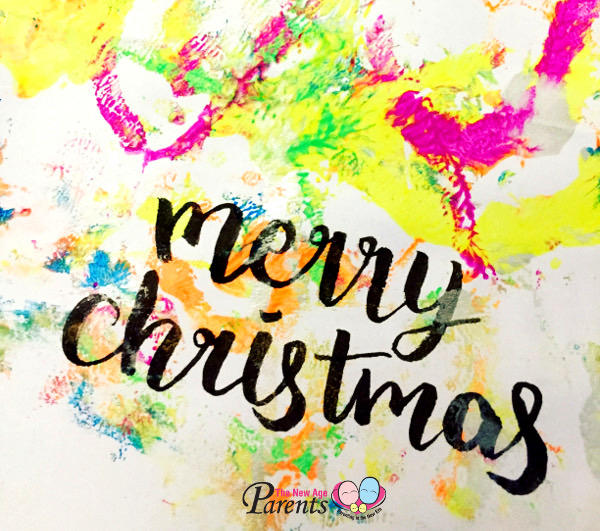
3. Place plain paper onto various parts of the painted surface and lightly tap on top so that the design is transferred to the paper.
4. After the paint has dried, write your Christmas greeting on the painted paper. Cut out rectangles of 3.5″x5.5″ and fold in half.
5. Cut your patterned paper into rectangles of 4″x6″, and fold in half. Stick the painted paper rectangles over the patterned paper rectangles.
Method B
1. Line the work surface with newspaper/cardboard.
2. Fold each piece of plain paper into half. Ask kids to make shapes, lines and squiggles with the puffy paint all over on side of the paper, giving some direction to ensure they don’t use too much paint on any one spot (as the paint would soak through the paper. Even just a few straight lines can create quite a nice effect.
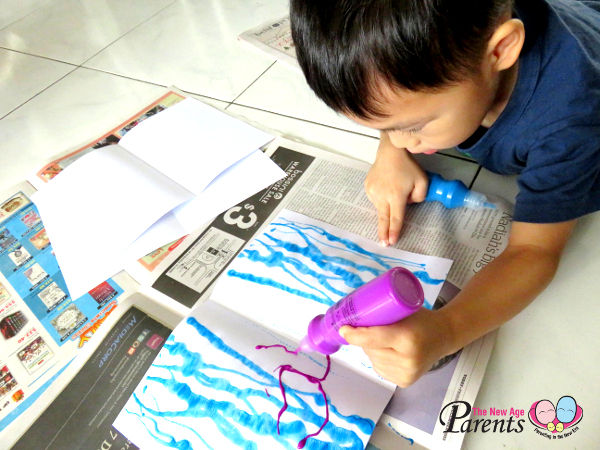
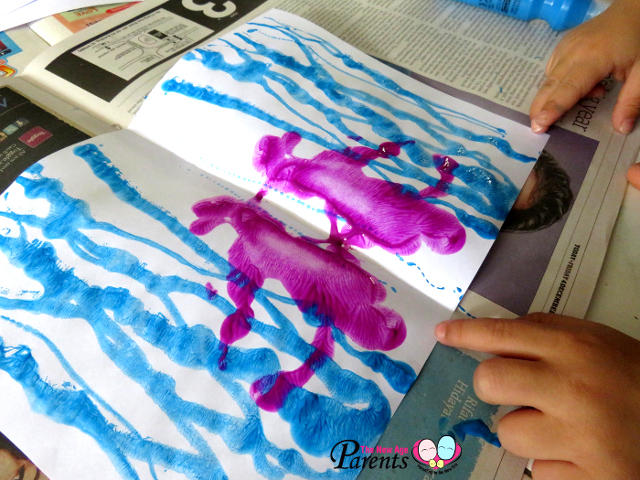
3. Fold the paper closed and lightly press so that the design is transferred / reflected on the other half. Open the paper up and let it dry.
4. After the paint has dried, write your Christmas greeting on the painted paper. Cut out rectangles of 3.5″x5.5″ and fold in half.
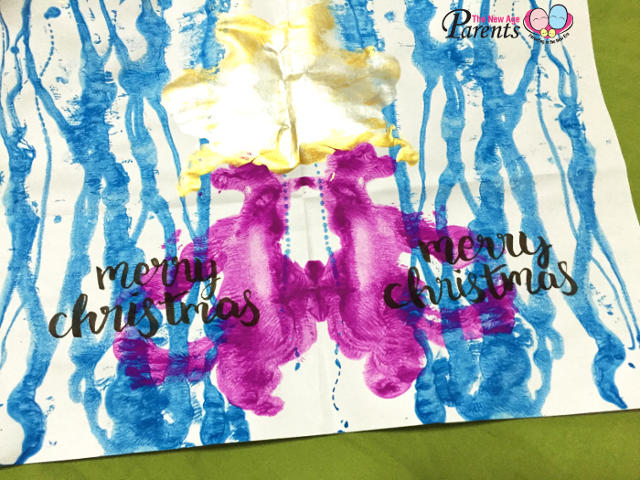
5. Cut your patterned paper into rectangles of 4″x6″, and fold in half. Stick the painted paper rectangles over the patterned paper rectangles.
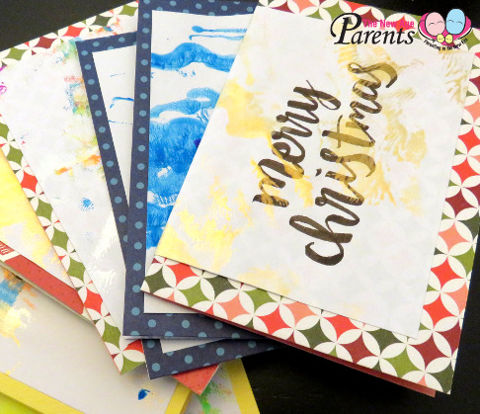
The best thing about these DIYs – every single card is guaranteed to be one-of-a-kind!
Check out more of our DIY series below.
➡️ Related Read: Where to Buy Christmas Trees in Singapore
Text and photos by Dorothea Chow.
* * * * *
Like what you see here? Get parenting tips and stories straight to your inbox! Join our mailing list here.
Want to be heard 👂 and seen 👀 by over 100,000 parents in Singapore? We can help! Leave your contact here and we’ll be in touch.
