A sensory bin is basically a large container of items that encourages your child to explore with his or her senses, at his own pace and pleasure. It’s a great way of encouraging independent self-play, and once you have a few basic supplies in hand, the thematic possibilities are virtually endless! If you’re a home-schooler, you can even organize your bin items in line with the lesson of the week.
These bins are also a great addition to playdates with a small group of little friends – but do make sure the container is large enough for all to join in the fun! These are also great to encourage an older toddler and younger child to play together, since they can choose to play peacefully alongside each other, or work together to sort and scoop and pour and feel the items. Use a portable bath tub, instead of a bin, for a larger group of children.
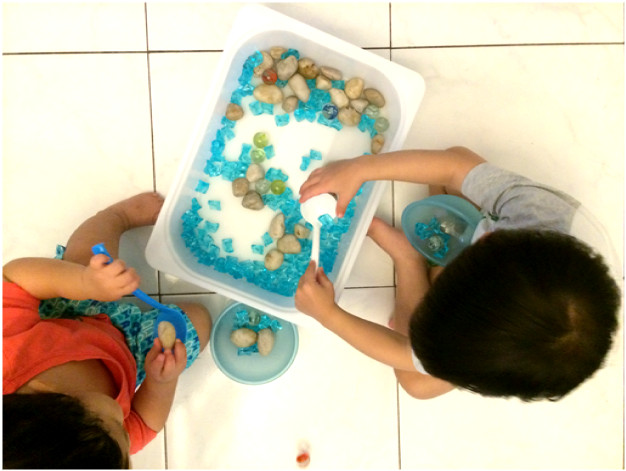
Do note, it’s probably good to set some ground rules with your kids. For example, playing should stay in the box as far as possible, and not be taken out to play with at other parts of the house. However, whether or not contents actually remain in the bin/container during exploration is subject to child’s level of excitement and ability to throw.
With that, here are some of the basic supplies you’ll need to get started on a basic sensory bin.
The bin
We recommend the Trofast storage box from Ikea, which is very affordable ($3) and easy to stow away on a shelf or under the bed when not in use. Get the cover ($1) to keep a lid on the contents and keep dust out.
You can also get some large containers from Daiso, Toyogo or some neighbourhood provision shops.
Ziploc bags
These are great for keeping your items safely away when playtime is over. After all, you don’t want to be stepping on little rocks, marbles and sand on the floor at all hours of the day.
Basic fillers
Always try to present items in a variety of sizes for sensory play. By fillers, we mean the smallest pieces of the lot, and what typically constitutes the bulk of your sensory experience. You can use sand, plastic stones (Daiso), real pebbles or gravel, rolled oats, shaving cream, and even water!
Other items
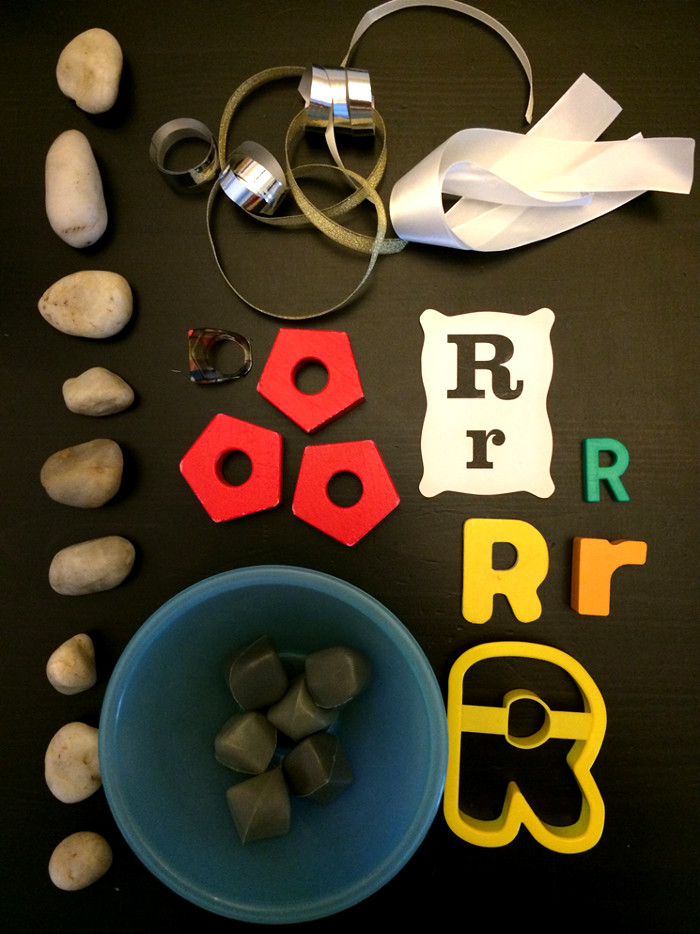
Besides your basic fillers, you’ll want to amass several items that can go into the bin at some point or other. As mentioned earlier, consider having a theme for your sensory bin, and plan/purchase your items for it accordingly.
On her blog, Gingerbread Mum shares a few fun combinations that are sure to win your child’s heart over to the joy of sensory play.
Alternatively, you can build your sensory bin along the lines of what your child enjoys the most. For example, a budding fashionista might enjoy a mix of ribbons, fake pearl strands, big wooden beads and buttons, while a dinosaur lover might like to play with some colourful mini dinosaur counters and some leaves.
Here’s an example of a learning activity you can do with your preschooler who is beginning to recognize his alphabets!
Items that went into the bin: Some Red wooden washers, a variety of “R” shapes, plastic Rocks, some Ribbon and a few real pebbles (to masquerade as more rocks).
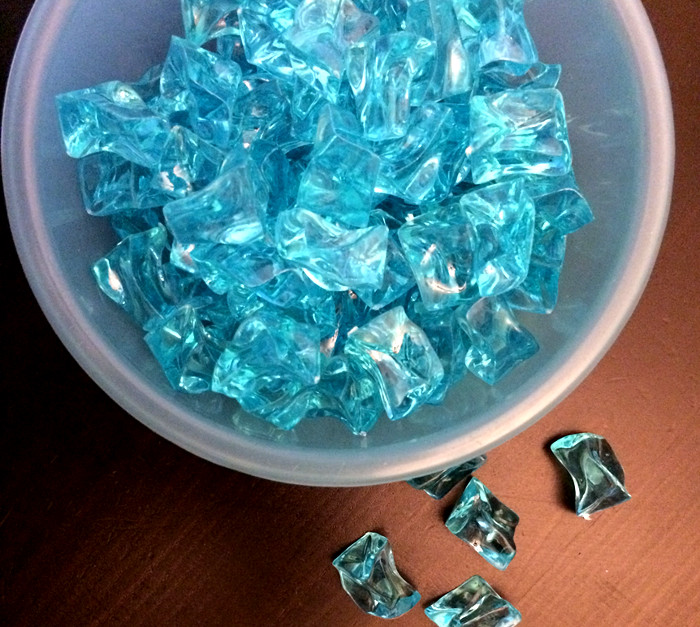
Our main fillers are these colourful plastic stones from Daiso. You’ll need about three containers per Trofast box.
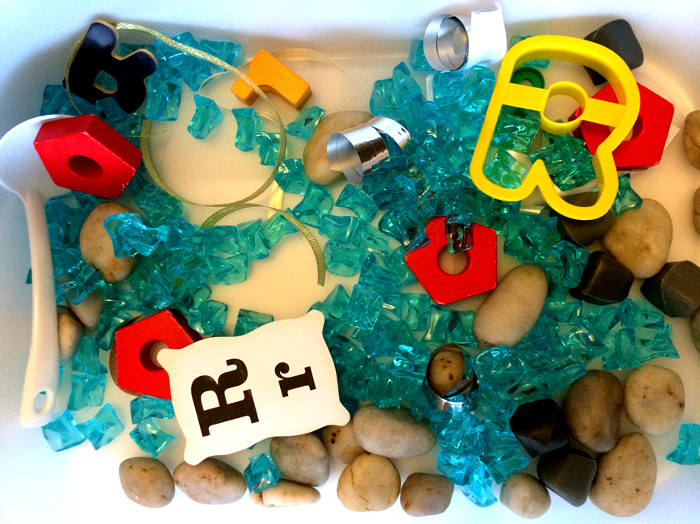
All filled up and ready for some scoop and play!
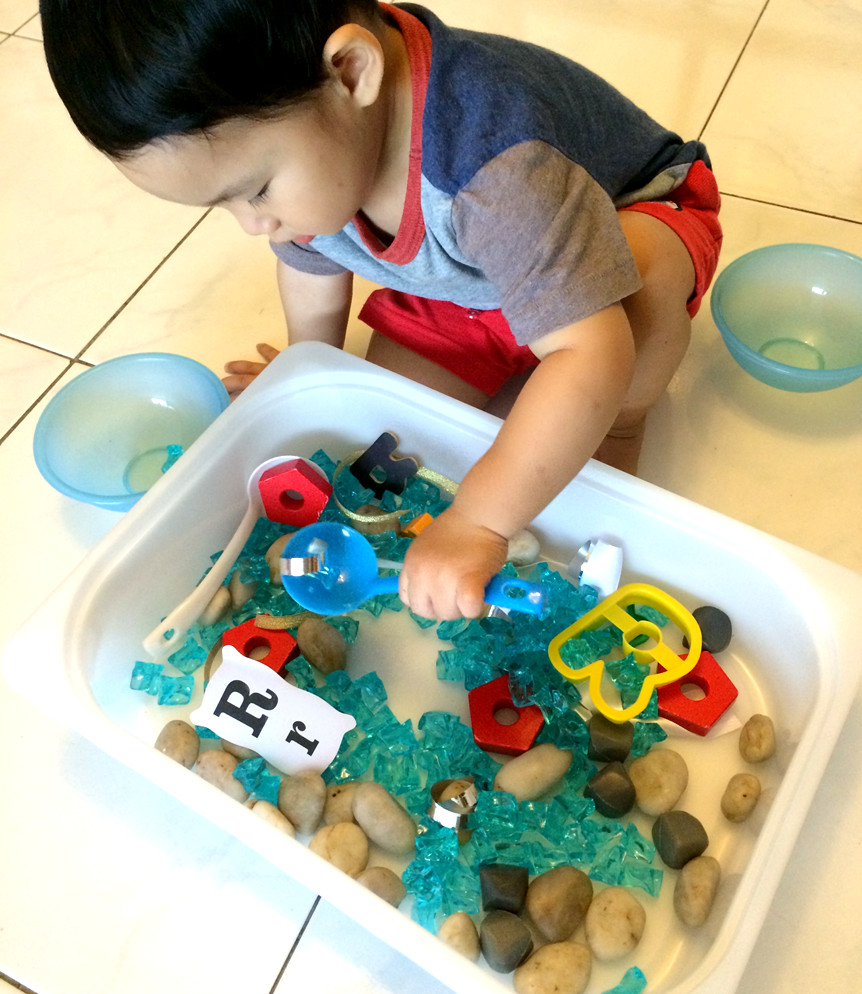
D enjoying his Rad sensory bin.
Try you hands at making your own sensory bin!
By Dorothea Chow
If you find this article useful, do click Like and Share at the bottom of the post, thank you.
Like what you see here? Get parenting tips and stories straight to your inbox! Join our mailing list here






























Leave a Comment: