Sippy cups can be wonderful to prevent spills but a bane when it comes to cleaning. The nooks and crannies of a sippy cup can cause milk residue to build up and become havens for bacteria and mould.
Here’s a step-by-step sippy cup cleaning guide to help you.
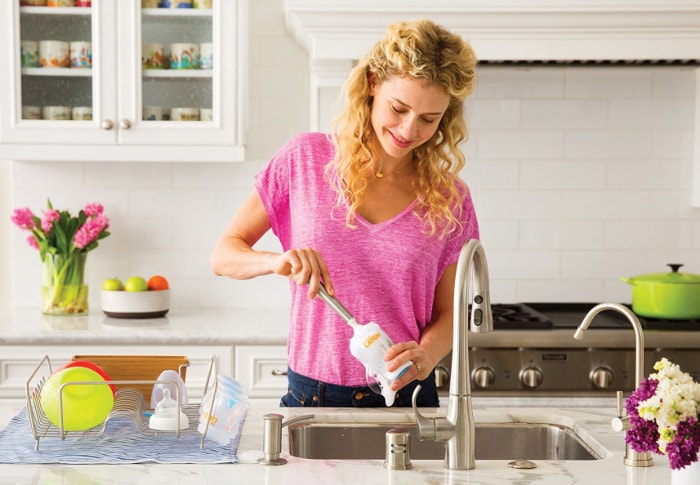
Steps to washing a sippy cup by hand
- Rinse cup immediately after use
- Disassemble all parts of sippy cup
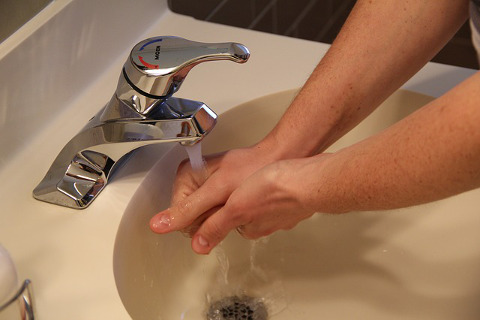
- With warm soapy water, use the right cleaning tool to scrub each part thoroughly.
- Rinse thoroughly with clean water to get rid of residual soap
- Air-dry the parts
- Store them only when parts are dry
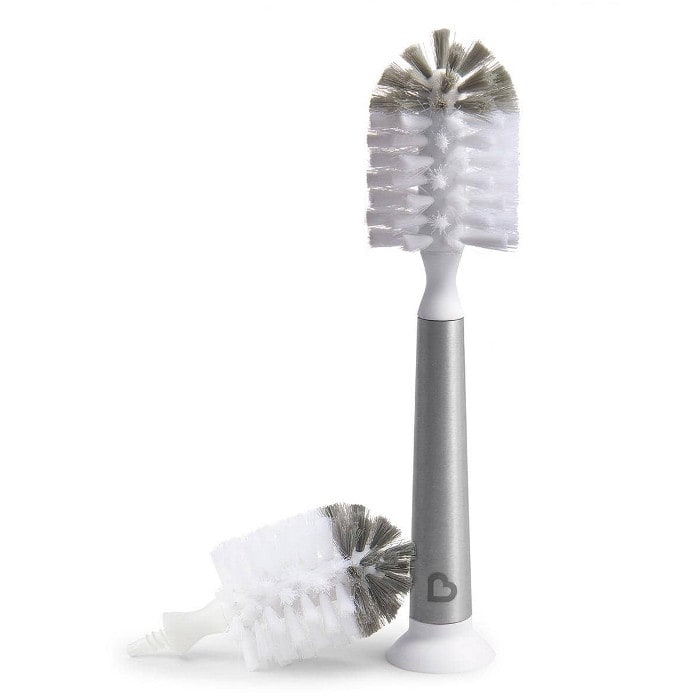
Long, thin brushes are great for cleaning sippy cups as they can reach the tricky spots. The durable bristles of Munchkin Shine™ Stainless Stain Bottle Brush can clean the crevices thoroughly without scratching them, including the edge of the bottom of the cup, inside the mouthpiece and in the groove of the rubber stopper. The base keeps the brush standing upright for quick drying and storage.
Steps to washing a sippy cup by dishwasher
- Disassemble all parts of sippy cup.
- Place the parts on the top rack of the dishwasher. For smaller parts, place them in a dishwasher basket to prevent them from dropping.
- Items placed in the top rack of the dishwasher receive a gentler wash than those placed in the bottom section.
- Use detergent that is free from chlorine
- Set the washer to heat rinse cycle
- Air-dry the parts
- Store them only once the parts are dry
Dry it out
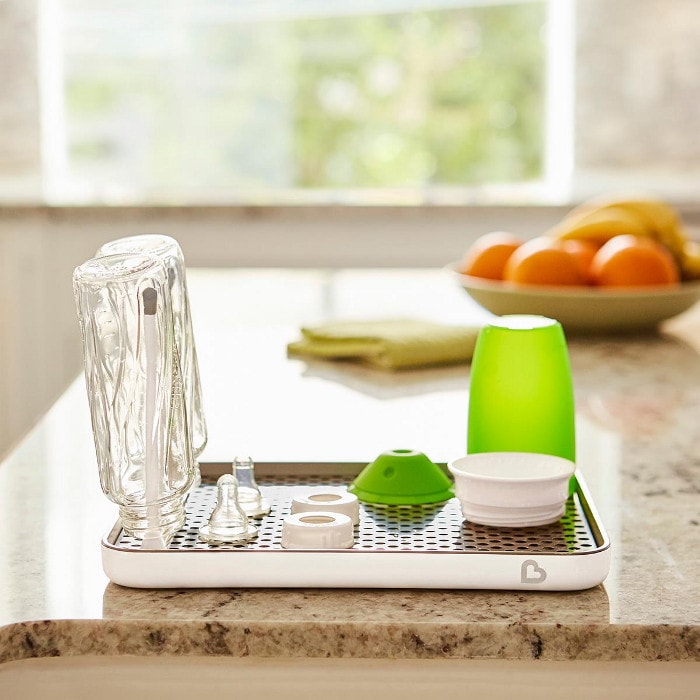
It is important to make sure every part of the cup is 100% dry, to prevent any liquids from being trapped. Air drying is recommended for drying baby bottles and the easiest way is to let them dry naturally on a drying rack while excess water can flow down into the drip tray system.
The moveable drying pegs of the Munchkin Shine™ Stainless Stain Bottle Dryer allows you to customise your rack and dry up to eight bottles and other accessories at the same time. All you have to do is place the lid, rubber pieces and cups upside-down.
Sterilizing
It is recommended to sterilize your baby bottles before use, for at least the first 12 months of your baby’s life.
Always wash your hands thoroughly before touching equipment that has been sterilized.
Here are a few sterilization methods:
1. Electric Sterilizer
Not only can electric sterilizers kill germs and bacteria in baby bottles and sippy cups, they can also deodorize and dry your bottles.
2. Microwave Steam Sterilizer
You will need a microwave for this type of steamer. Add water to the steam sterilizer and put it in the microwave. How long the sterilizer stays in the microwave depends on your microwave’s wattage. Check the instruction manual of the steam sterilizer before use.
3. Boiling water
Boiling is the traditional way to sterilize bottles and cups. Once all the cups and bottles have been washed, submerge all parts completely in boiling water for at least ten minutes. This method is best for sterilizing glass baby bottles and BPA-free plastic bottles.
Items mentioned above are available online at infantino.com.sg.
This was first published in our e-book Your Baby’s Feeding and Growing Years.
* * * * *
Like what you see here? Get parenting tips and stories straight to your inbox! Join our mailing list here.
Want to be heard 👂 and seen 👀 by over 100,000 parents in Singapore? We can help! Leave your contact here and we’ll be in touch.
