A scrapbook is a lovely way to archive precious memories in a meaningful fashion, and great as a personal or family keepsake, or a gift to your loved ones and friends. Scrapbooks can be a personal project or a team effort, for a one-off special event (e.g. wedding, birthday) or regular features in your family’s lives.
Many people never attempt a scrapbook because it looks too troublesome or challenging to create, but it’s really not as difficult as it looks! Let us break it down for you with this basic guide for beginners among you.
Get started
When thinking about what kind of topic you want your book to be about, it helps to write down the moments that matter most to you and your family. For instance, in some homes, birthdays are a big deal, while in others, it’s just another day in the year, albeit with a cake. Some families celebrate Christmas in lavish style, and some take pleasure in their annual long family vacation overseas. Which are the moments you want to capture in your scrapbook?
If you’re planning to make this a long-term tradition, you might also want to consider what is doable, given your available time and finances. Some mothers do a page a month for each of their children; some families have a family scrapbook for each year. Do you want your books to have a similar feel, or do you want each one to be uniquely themed?
Look through the photos that you have in your archives if you’re stumped about where to begin. Sometimes, a certain type of photo will jump out and you, and there you’ll find your theme.
Get inspired
From display pieces in scrapbooks stores to scrapbooking blogs and design team galleries, to photos on Pinterest and Instagram – there is an overwhelming amount of inspiration for scrapbookers, whether you’re a beginner or advanced.
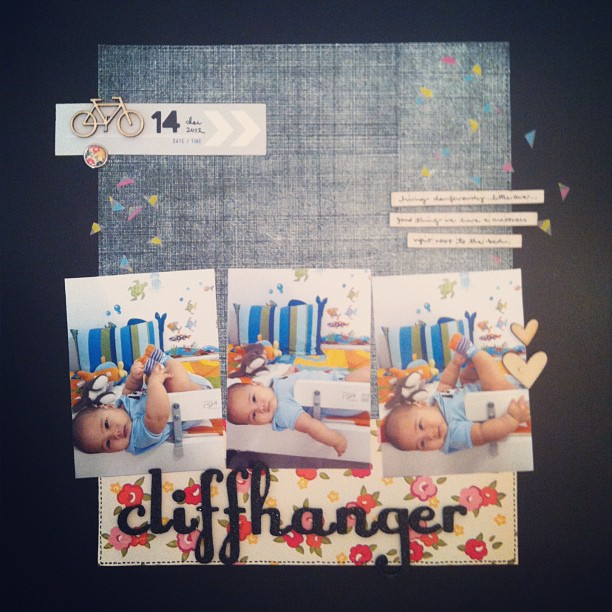
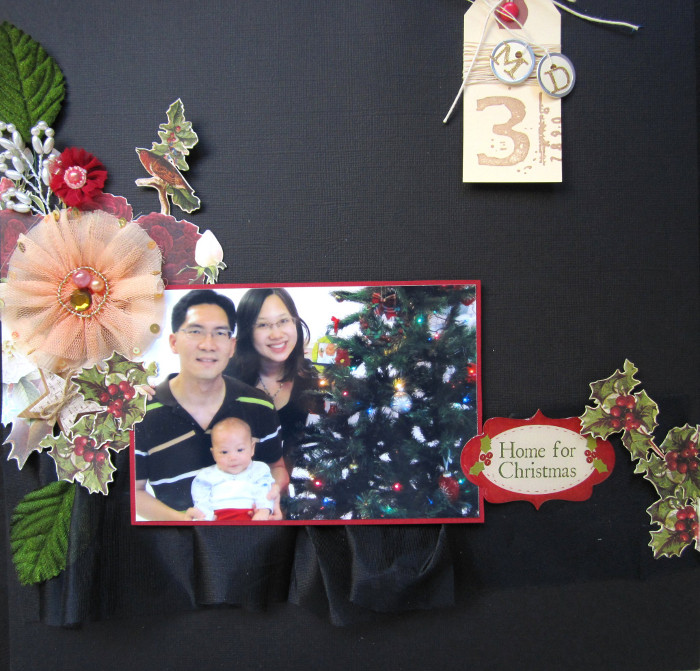
To begin with, it’s helpful to find layouts (that’s what we call the 12″ by 12″ square pages) that you like. You can then “copy” the layout in terms of the location of items, but of course, using paper designs and embellishments of your choice. Similarly, you can refer to sketches of layouts as your basic guide, and work out your design from there.
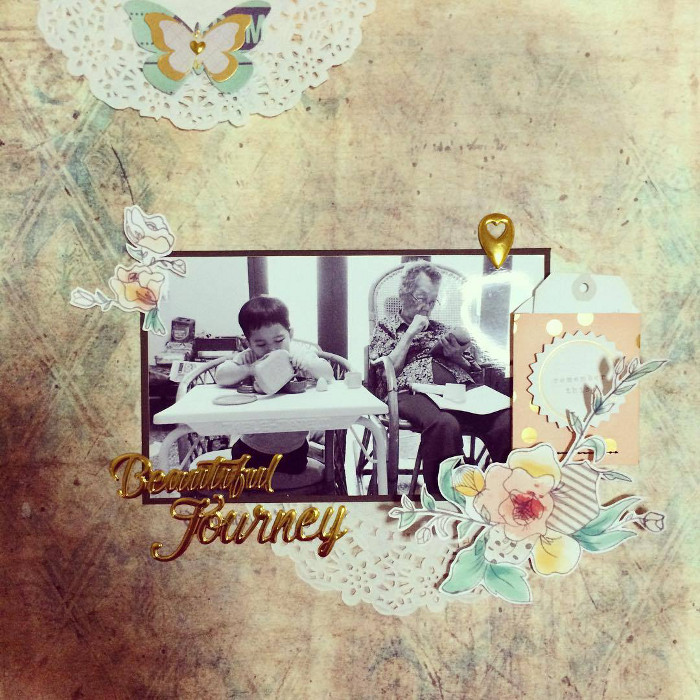
A visit to the scrapbook store can also get you inspired, as you browse through the available designs. Much like fashion, scrapbook brands have ranges and come up with new material on a regular basis. Buying your material from the same brands’ current range is one way of ensuring that everything matches well together. At the same time, it can be fun to mix and match the materials across brands and seasons, so it’s really up to your style.
Get your materials
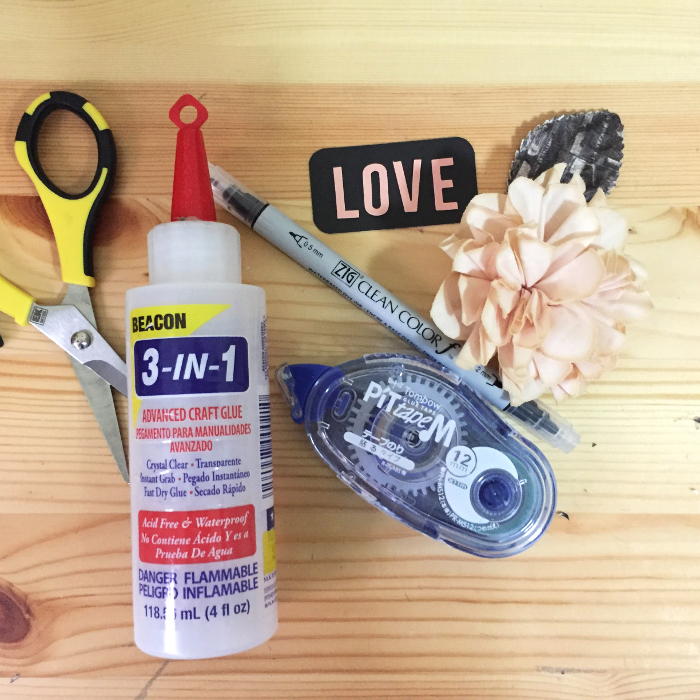
Since you’re just starting out, you’ll need to get quite a few basic necessities for your inaugural scrapbook project from any scrapbook store (eg. Paper Market, Made with love, Art Friend). Most of these stores also offer a variety of interesting scrapbooking workshops which you can sign up for. Over time, as you gain interest in the craft and hone your skills, you may want to purchase items online and in larger quantities, to get a better price and to increase your options.
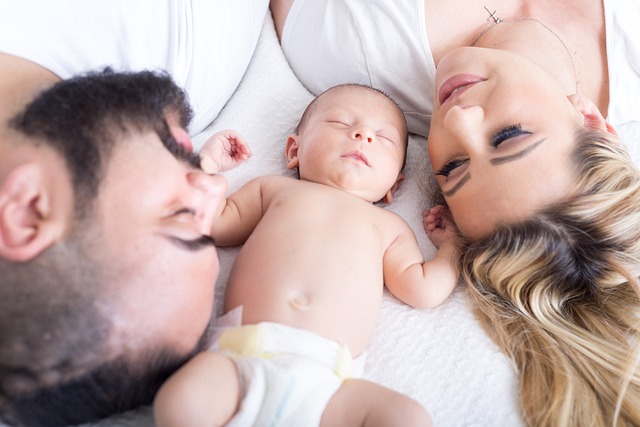
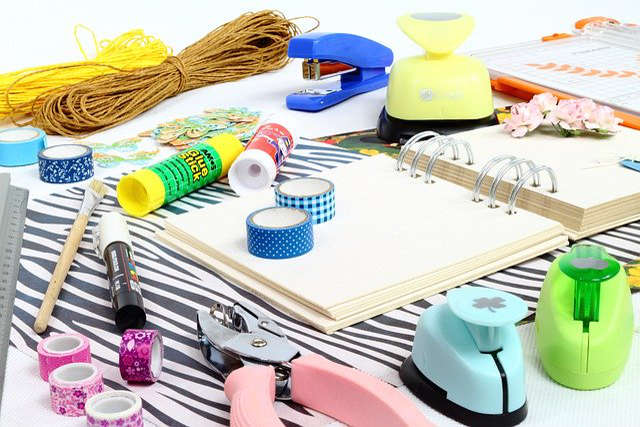 Image by Jan Kosmowski from Pixabay
You’ll need to get the following items (those marked with an asterisk are advisable but optional)
- Penknife, a metal ruler and cutting board (or portable paper cutter)
- Sharp pair of precision scissors, eg from Fiscars*
- Glue tape
- Beacons craft glue (for everything non-paper)
- Foam dots (to add dimension)*
- Scrapbook paper
- Plain cardstock (good to get black or white colour for framing photos, eg see layouts below)
- Some embellishments, such as stickers, rub-ons, flowers, ribbons, buttons, brads, wood veneers, etc
- Scrapbook album with sleeves
- Alphabet stickers (to title each page)*
- Pen for journaling, eg from Kuretake or Zig
DIY Scrapbook – Get crafting!
Now all that’s left to do is get going, and not let your paper sit and gather dust in the storeroom! Set aside time to make this scrapbook happen – something that’s certainly not easy for the busy people that we are. If you have an older child, you can involve him or her in the scrapbooking process too.
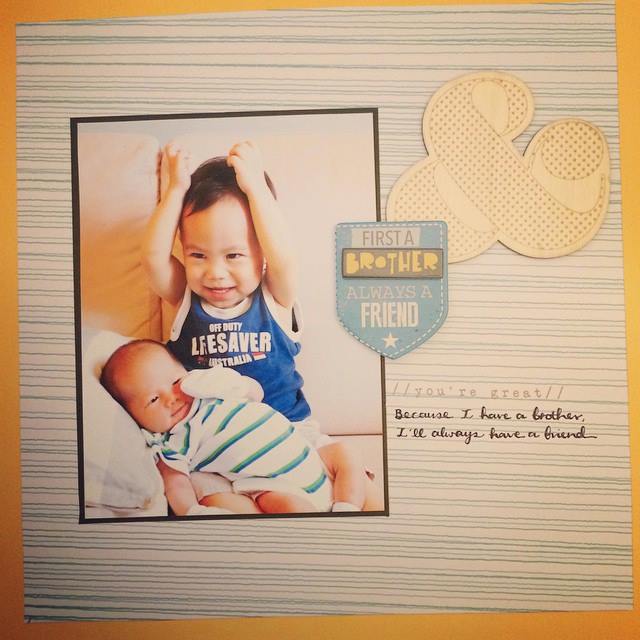
Here are just five general principles to remember as you begin:
- Choose photos that are well focused and close-up. Portrait-type pictures are much better than group shots.
- Avoid having too many prints on one page.
- Don’t overcrowd your page with items. Less is often more. It’s best to keep to a maximum of 2-3 photos per layout for a start.
- Leave space for journaling – writing down what makes these memories noteworthy.
- Never leave your layouts – finished or unfinished – lying around, especially if you have little ones in the house!
Some helpful online resources:
Dear Lizzy – elizabethkartchner.com
Paper Market – papermarket.com.sg
Amy Tangerine – amytangerine.com
Made with love – madewithlove.com.sg
Blue Moon Scrapbooking – bluemoonscrapbooking.com
Text and images by Dorothea Chow.
* * * * *
Enjoyed reading this or learned something new? Click the Like and Share button below!
Want to be heard 👂 and seen 👀 by over 100,000 parents in Singapore? We can help! Leave your contact here and we’ll be in touch.
