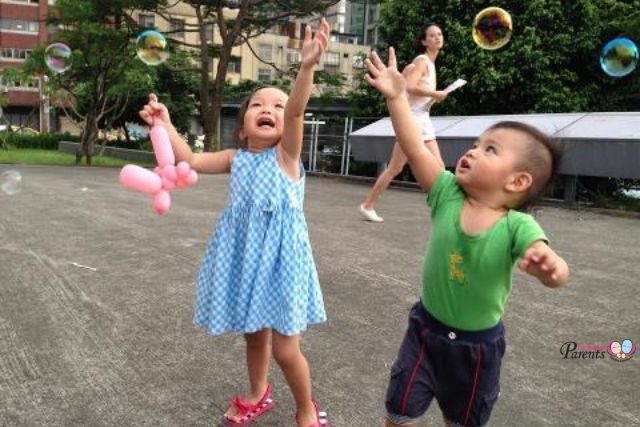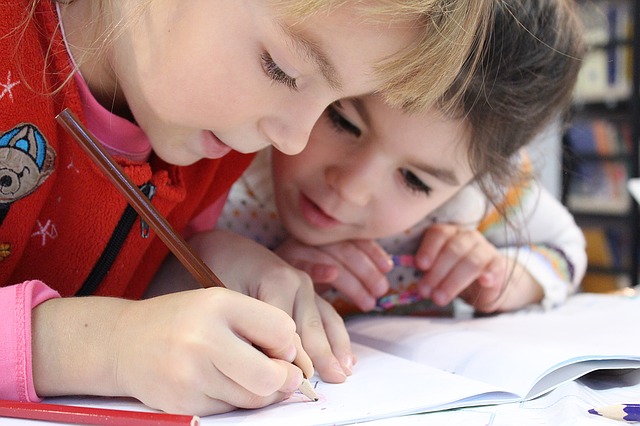


Children love Art, there’s simply no doubt about it! In Art, there should not be a model picture or sculpture which they should follow step by step. Art is an exploration in itself; a powerful medium where children feel safe to use to express their emotions and thoughts simply because they have the freedom to choose and to create something which is preciously unique to them, something which truly represents ‘ME!’.

Young children take delight in exploring the different textures of paints, crayons and transferring their scribbling and doodling onto a clean white sheet of paper. Oh, the sheer delight!
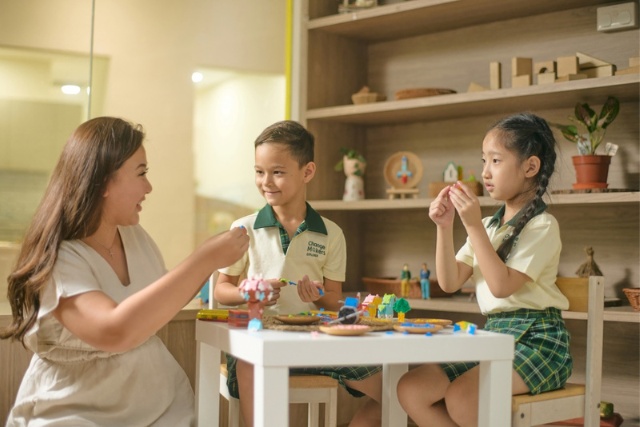
Below is an activity which you can do with your children at the comfort of your home. Have a blast with your young ones and remember… it is okay to be all MESSY! Have fun!
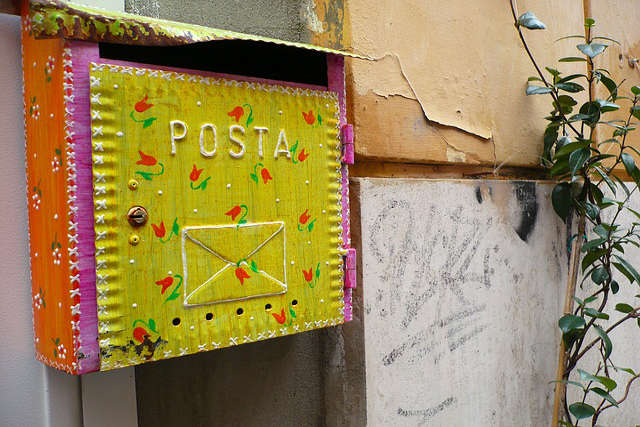
You’ve Got Mail! (your child’s very own mailbox creation)
Targeted Age Group: 5 to 6 years old
Materials:
- An old shoe box, or any other boxes with a cover
- Colour papers
- Paintbrushes
- A variety of non-toxic poster colours
- Wide variety of materials which you can easily find around your household, such as old cloth, buttons, sequins, sash. Pretty much anything to decorate the box. Be creative in the materials you provide for your child- you’ll be amazed with the magic they can create with the materials.
- Glue
How the activity goes
Tip: Before you start off with the activity, explain to your child on the word “mailbox” and other words which are related to it, such as the post office, stamps and mailing address in order for them to have a clearer idea. Your child may have already learnt it in class and this will be a good opportunity for them to revise and have a mini show & tell session, just with you. I’m pretty sure they will love the attention which they are going to receive from their dearest mummy!
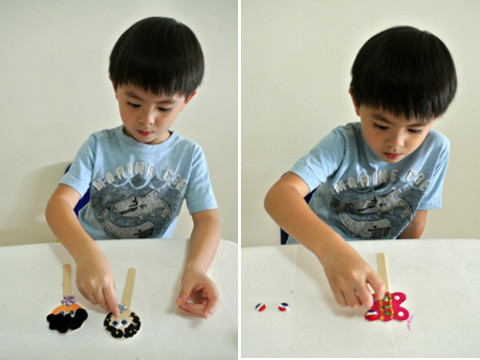
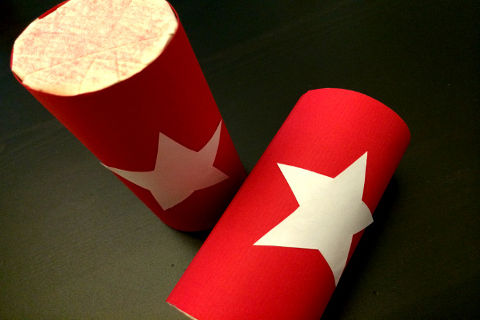
1. Decide on the opening of the mailbox. Draw it anywhere the child wants it on the box and have them cut the shape out. Parental assistance is required for this step.
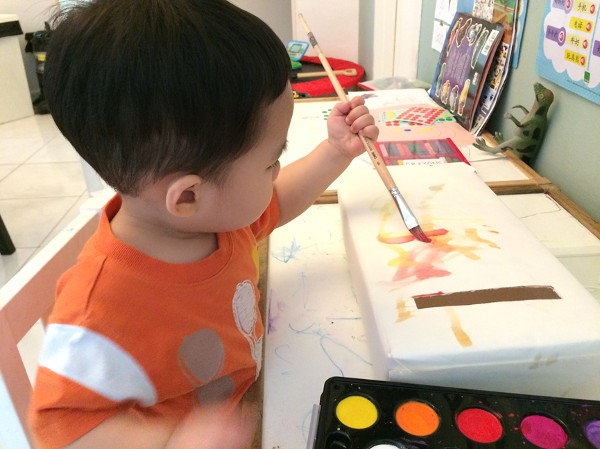
2. Child can either paint or colour the box to their desired colour.
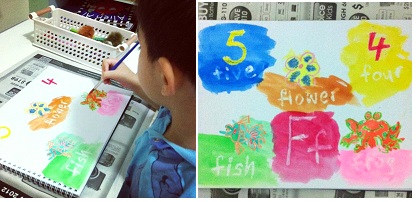
3. Decorate it with the materials provided.
Tip: Remember, there is no one right or wrong answer when it comes to Arts! Allow your child the freedom to design the mailbox on their own. Provide positive feedback on specific actions, such as, “I really like the way you created a pattern on the left corner of the box” or “I like the colours that you have chosen; that’s a really bright red!” Such feedback serves as a positive reinforcement for your child.
4. After decorating, place the mailbox at a prominent place in your house for easy retrieval of “letters” in the future.
Tip: You can build on this activity by creating a mailbox for members of the household together with your family. If your child has something to share with a particular member, he/she will just need to drop it into the respective mailbox!
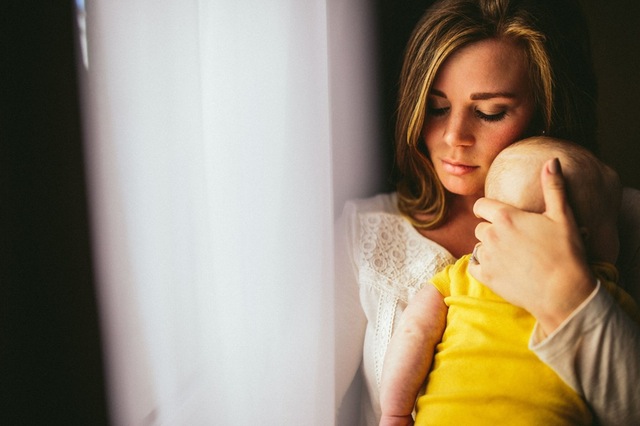
This simple activity will provide a pathway for better communication with your child. Sometimes, they may not have the correct words to express themselves at a particular moment. They may need the time to ponder over it or they may even express themselves better through their drawings. Placing it in a prominent place reminds them that you regard the mailbox and the content which comes with it as important stuff.
By checking the mailbox regularly and replying to your child’s letters will let them understand that this mailbox isn’t just for show. You will be sending a positive message across to them that “mummy is reading all of your letters” and “I am appreciating them”.
May you enjoy this special bonding activity with your precious!
By Leow Kaiwen.
* * * * *
Like what you see here? Get parenting tips and stories straight to your inbox! Join our mailing list here.
Running a service or business targeted for parents? Reach out to a wider audience in our Art Classes for Kids compilation. Leave your contact details here and we will get in touch with you.