It’s the December school holidays and Christmas is nearing! Are you running out of ideas on what to do with your child this December?
How about creating an advent calendar to capture the anticipation and count down the days to Christmas with your child?

How To Create An Advent Calendar
I have friends who come up with creative advent calendars, stuffed with surprises and activities for their children to count down the days to Christmas as a family. And they seem easy to make! This year, I have decided to attempt making one with my firstborn, Sam – to get him excited about Christmas and make the celebration a family tradition.
The best thing about this is that there are no rules to how an advent calendar should look like or what kind of activities should be included in it.
You can tack 25 envelopes or mini boxes to a big piece of paper or on a wall, or clip different colourful socks to a long rope. You can also transform a normal calendar or memo board to an advent calendar by indicating the days with numbers 1 – 25. Then writing the different activities on a piece of paper or insert the surprises into the designated envelopes/boxes, and you are ready to go!
For our advent calendar, I have decided to get Sam involved so that he can have some involvement and ownership of the calendar:
1. Find big envelopes or any kind of paper that you may have at home and allow your child to go wild painting or decorating it.
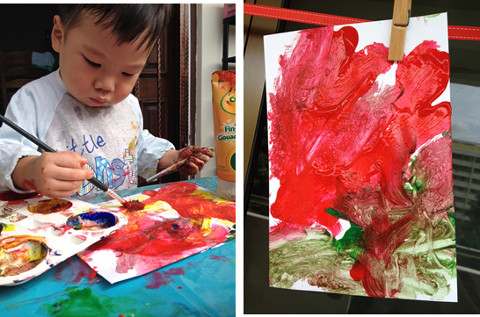
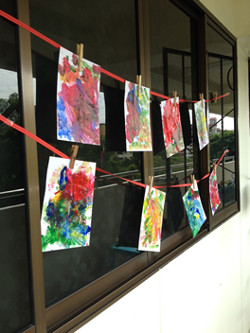
2. Pin them up, let your toddler enjoy his art and air it for a day.
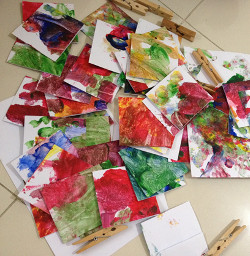
3. Cut the envelopes up into smaller squares/rectangle and seal the corners with a transparent cellophane tape. Remember to leave a pocket opening at the top of the squares to allow you to drop activity notes into it.
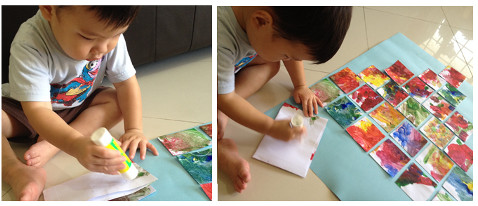
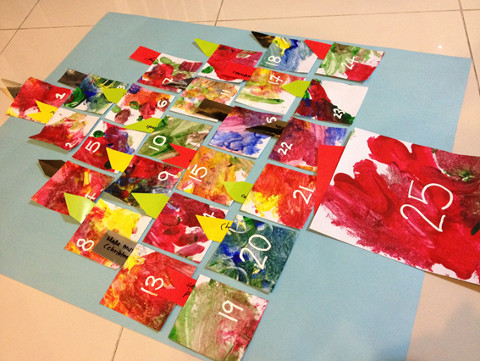
4. Allow your toddler to help you glue the squares onto a big vanguard sheet. You can glue them in any creative manner. We’ve decided to form the mini squares into a Christmas tree to anticipate the coming of Christmas.
➡️ Related Read: Where to buy Christmas Tree in Singapore
5. Use a white marker or correction fluid to write numbers on the mini squares, which will indicate the dates from 1 – 25 December.
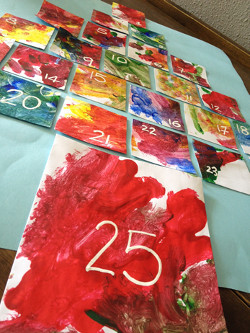
6. Cut up colourful papers and write down creative activities to do with your child. Here are some creative activities I have included for Sam, I am sure you can come up with even more creative ones!
- Learn a Christmas song
- Bake Christmas cookies
- Make Christmas cards for the neighbours
- Make a Christmas Ornament for the tree
- Set up the Christmas tree
- Decorate every door of the house with Christmas decorations
- Head out to town to see Christmas lights!
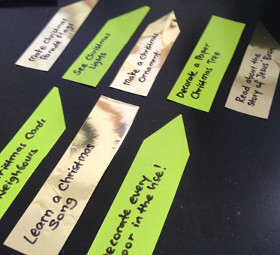
7. Slot them into the mini squares and you are ready!
By Yvonne Chee.
* * * * *
If you find this article useful, do click Like and Share at the bottom of the post, thank you.
Like what you read and want more? Receive our latest articles and giveaways when you sign up on our mailing list here.


