It’s mooncakes and lantern-toting time again, as we celebrate the annual Mid-Autumn Festival, so here’s a fun way to create a customized lantern of your own with your child!
Materials needed:
- Coloured foam sheet (sticky on one side, available at Popular stores)
- Coloured A4 paper
- Pencil
- Hole puncher
- Scissors
- UHU glue
- Coloured masking tape, duct tape or wide washi tape
- Some thick cardboard
- A small torch or LED lighting fixture (recycle from an old lantern or buy from your neighbourhood hardware store)
Directions:
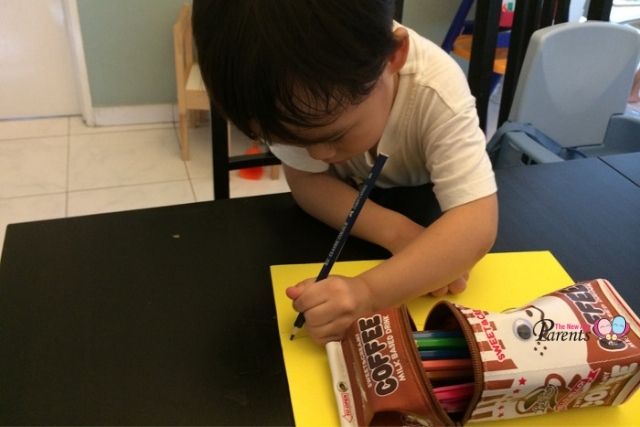
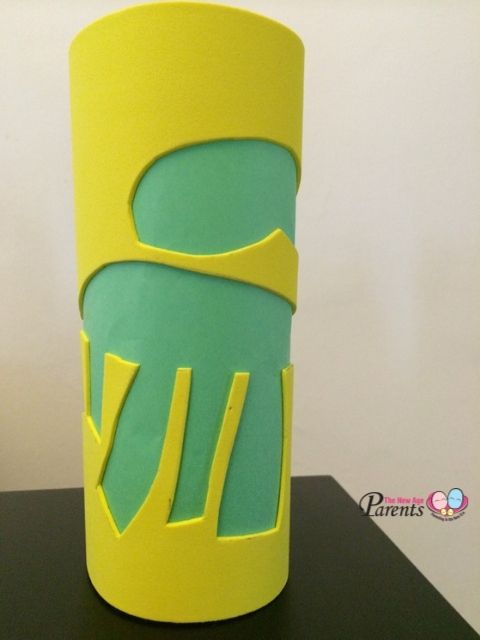
1. Ask your child to draw his design on the foam. (My son wanted a dinosaur) Ensure that the design is not too tiny or intricate because of Step no 2.
2. Cut out the shape.
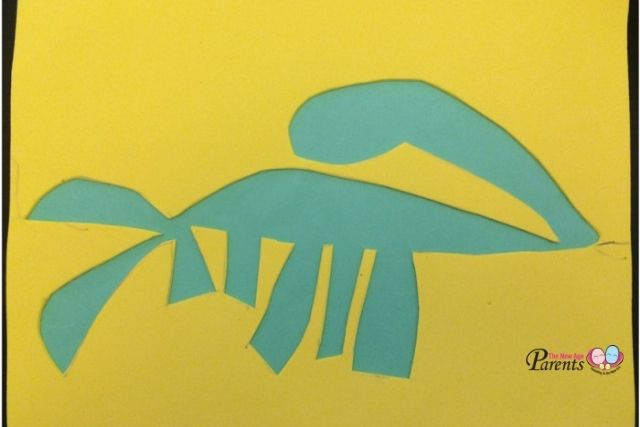
3. Carefully adhere the foam to the coloured paper, ensuring that it lies smooth and flat.
4. Use tape to stick the edges of the papers together, to form a cylinder.
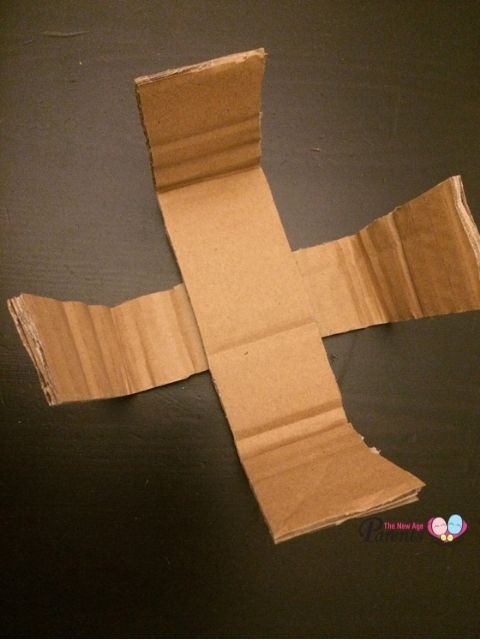
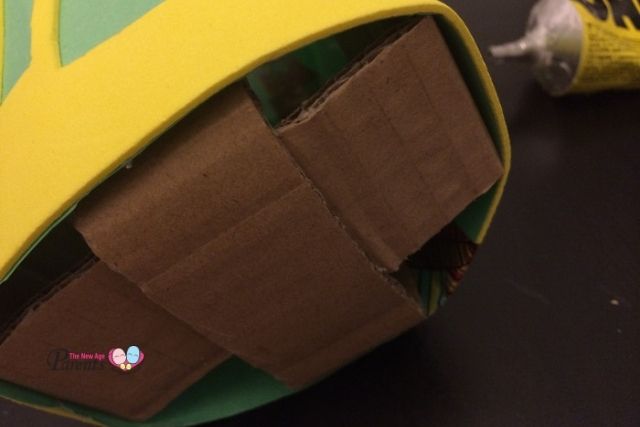
5. Cut out two thick strips of cardboard. Measure the diameter of your cylinder, which should be the length of the middle section of each strip (See diagram below). Glue the middle of the strips together to form a cross. Gently insert into the base of the cylinder, and glue the sides of the cross firmly to the wall of the cylinder.
6. Use tape, glue, or even blue tack to stick your lighting source to the centre of the cross-base inside the lantern.
7. Punch two holes at the top of your lantern, and tie a handle across with ribbon
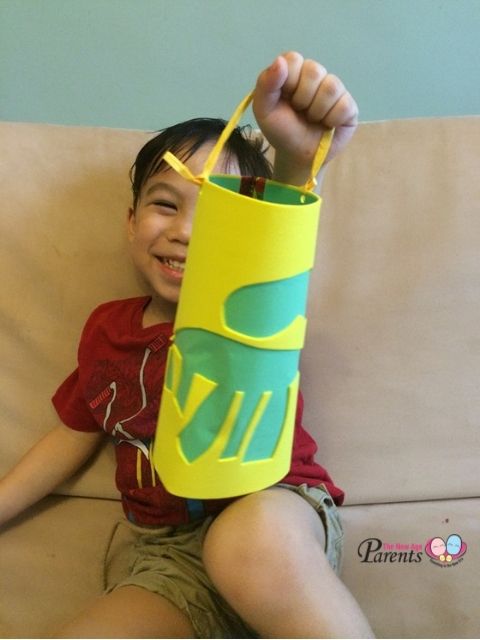
8. Switch on your light, and you’re all set for a walk in the park!
By Dorothea Chow.
For more activities and arts and crafts, head over to our activities resources page!
* * * * *
Like what you see here? Get parenting tips and stories straight to your inbox! Join our mailing list here.
Running a service or business targeted for parents? Reach out to a wider audience in our Art Classes for Kids compilation. Leave your contact details here and we will get in touch with you.


